Skip to main content

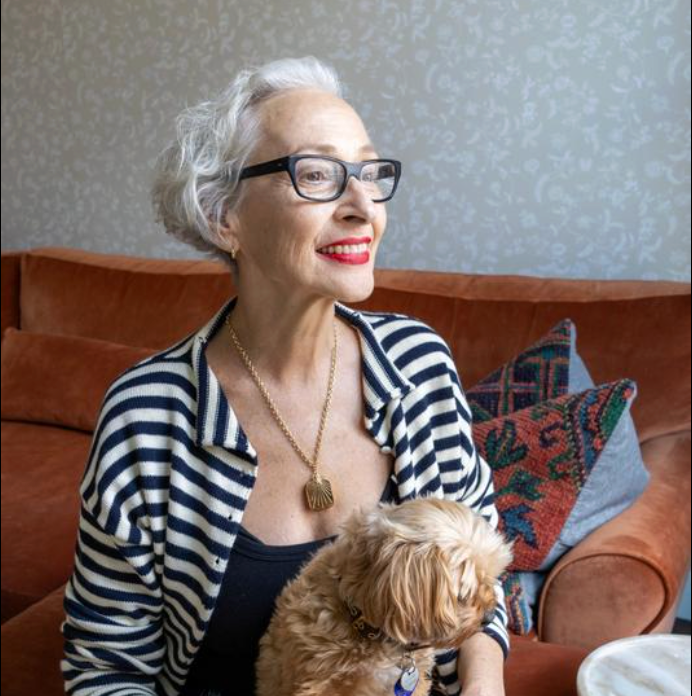
How to Follow Your Intuition When Applying Makeup
If you’ve ever watched someone do makeup and thought, “Wait… am I doing this wrong?”—you’re not alone. Most “rules” are just habits we’ve inherited from trends, old tutorials, or someone else’s face.
This guide is about building confidence and trusting your eye—so you can adjust as you go and make the look feel like you.
Step 1: Decide what you want your makeup to do today
Before you touch a product, ask one quick question:
What’s the goal—fresh, defined, lifted, glowy, or bold?
Your goal becomes your compass. When you know what you’re aiming for, you stop second-guessing every step.
Try this:
-
Fresh + awake: brighten under eyes, add blush, keep lips sheer
-
Defined: stronger brow + lip edge, keep cheeks soft
-
Glowy: luminizer + balm textures + minimal powder
Step 2: Start lighter than you think
Confidence comes from control—and control comes from starting sheer.
Most makeup regret is simply: too much, too soon.
Intuition tip:
Tap on first. Build second.
Sheer application keeps things flexible. You can always add more, but you can’t un-cake.
Step 3: Use your face as the map (not someone else’s tutorial)
Your bone structure, lid space, lip shape, and skin texture are your instructions.
Instead of copying placement exactly, use these cues:
-
Blush: place it where you naturally flush when you smile, then nudge slightly higher for lift
-
Eyeshadow: follow your crease shape (or skip it). Keep layers thin if you crease easily
-
Lips: define where you want shape—not where a chart says your lip line “should” be
If it looks good on your face, it’s correct.
Step 4: Pick Two “Heroes” (and let the rest support)
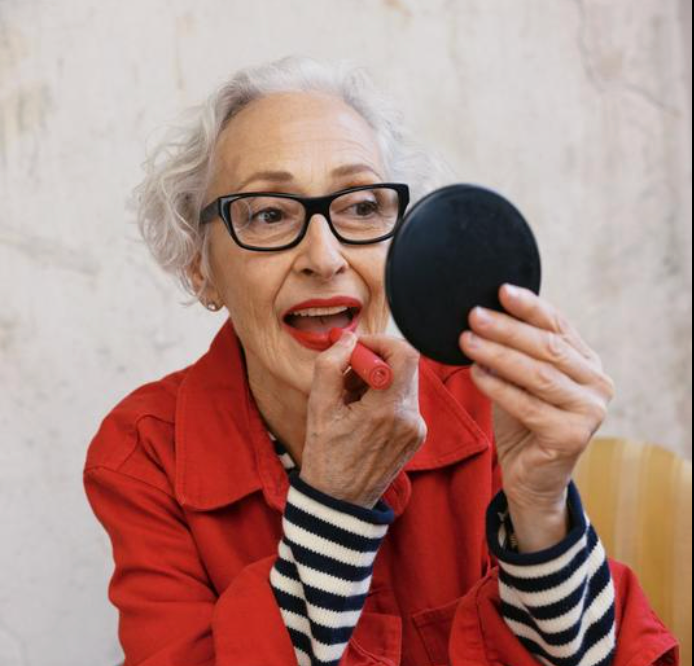
This is one of Rose-Marie’s best confidence tricks: spotlight two features at a time.
When everything is “the moment,” nothing is.
A few easy pairings:
-
Strong brow + strong lip → keep eyes soft and simple
-
Bold blush + glossy lip → skip heavy liner or a dramatic eye
-
Smoky eye + minimal lip → keep cheeks fresh, not loud
-
Statement lip + clean skin → let the lip do the talking
This isn’t limiting—it’s editing, and editing is usually the difference between “I’m not sure” and “I love this.”
Step 5: Step back. Then edit.
This is the secret step most people skip.
After each “feature” (skin, cheeks, eyes, lips), pause for five seconds and:
-
look at your face straight on
-
check balance without over-fixing
-
ask: Do I want more impact—or do I want it softer?
Editing is intuitive artistry: add a little, blur a little, wipe a little. That’s how makeup becomes yours.
Quick confidence check: the 3-question finish
Before you call it done, ask:
-
Does it look like me—just better?
-
Does it feel comfortable on my skin?
-
Would I wear this again?
If yes, you followed your intuition.
Even rule breakers love some advice
If you want help choosing shades, placement, or your “5-minute face” essentials, book a free Artist Advice virtual consult—we’ll walk you through it, no judgment.
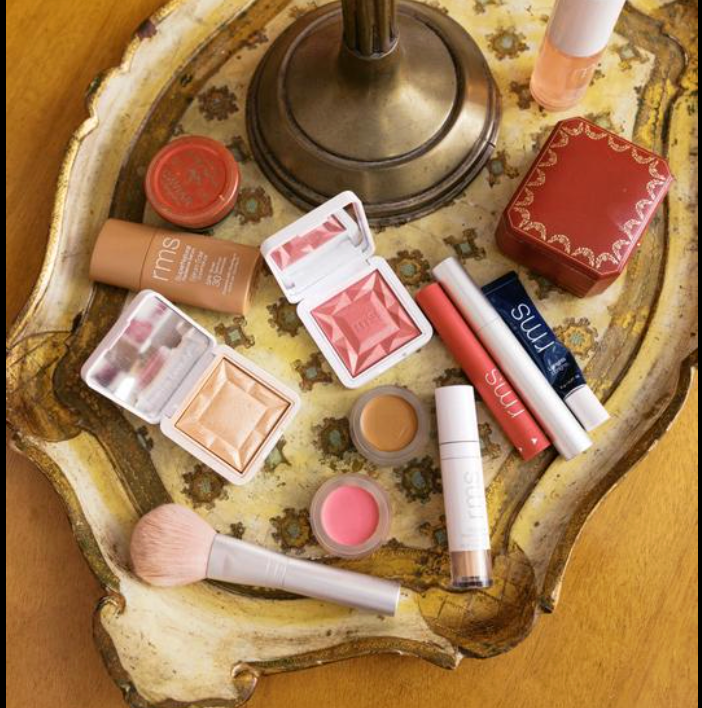
Shop The Blog
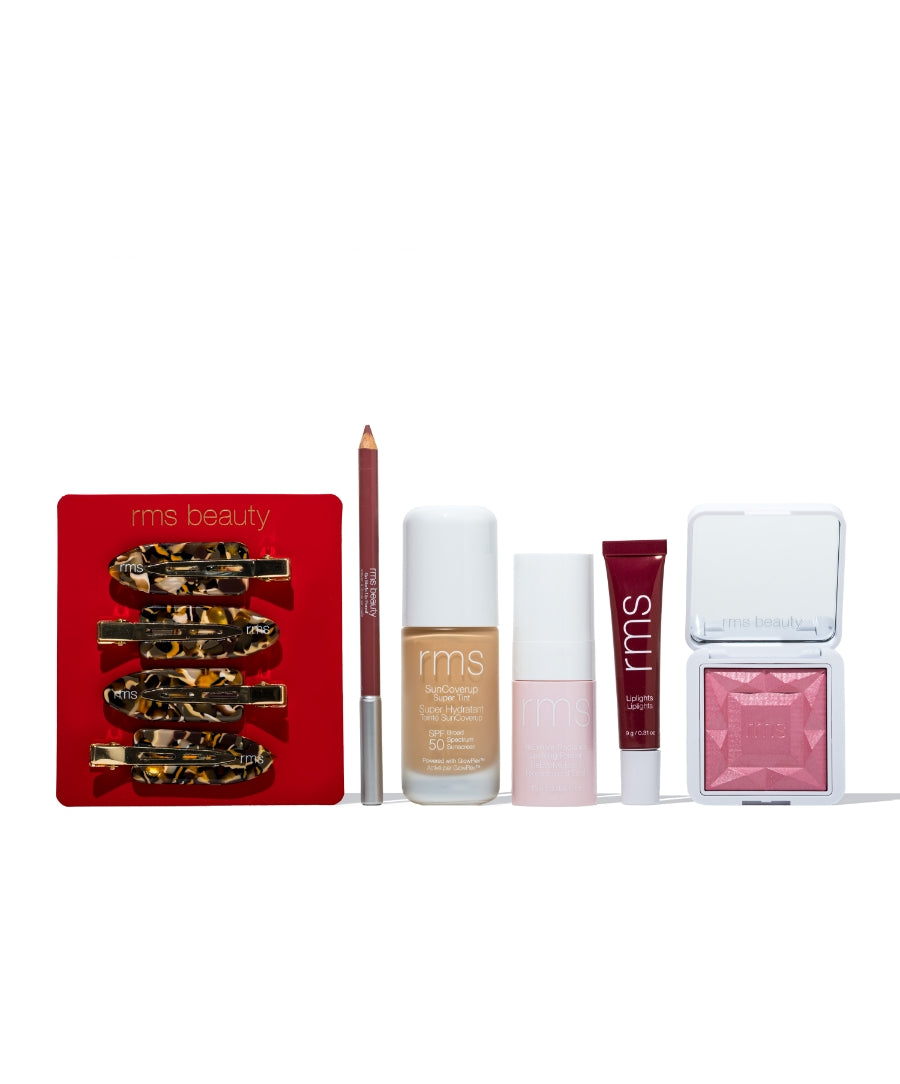

RMS Discovery Kit
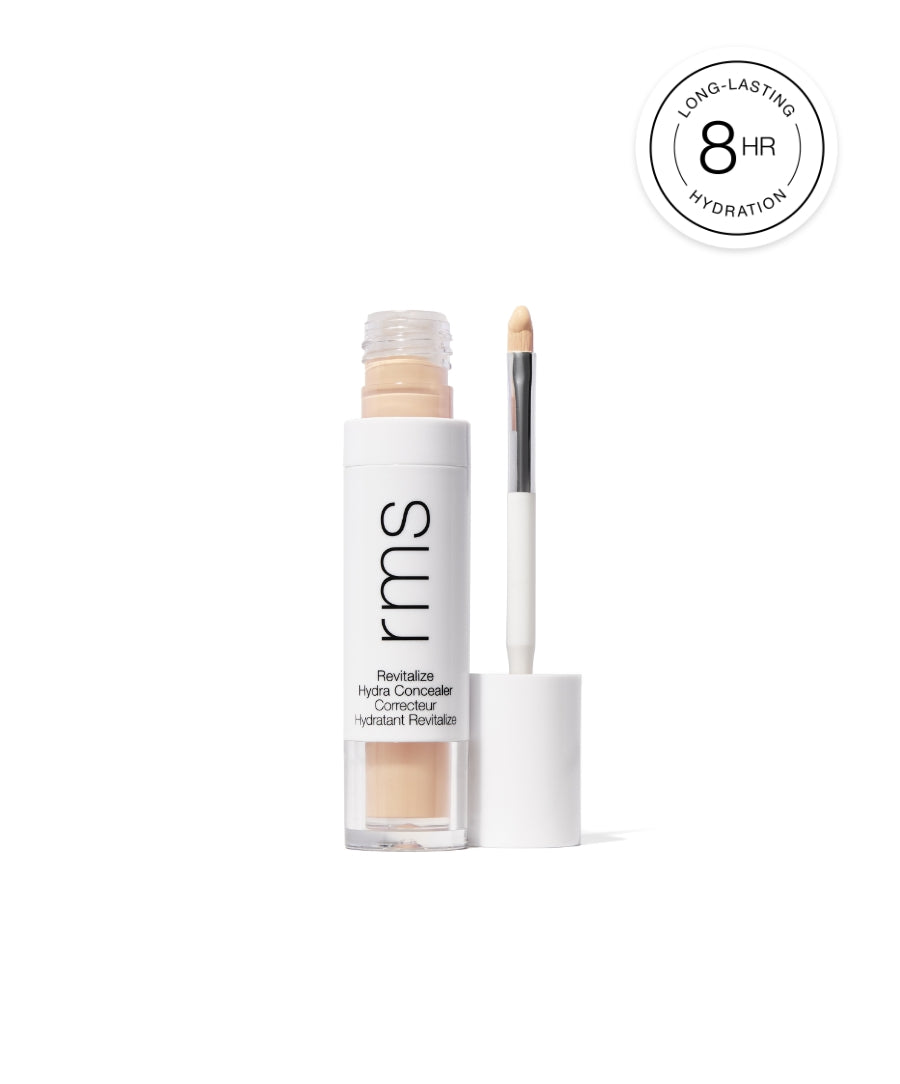
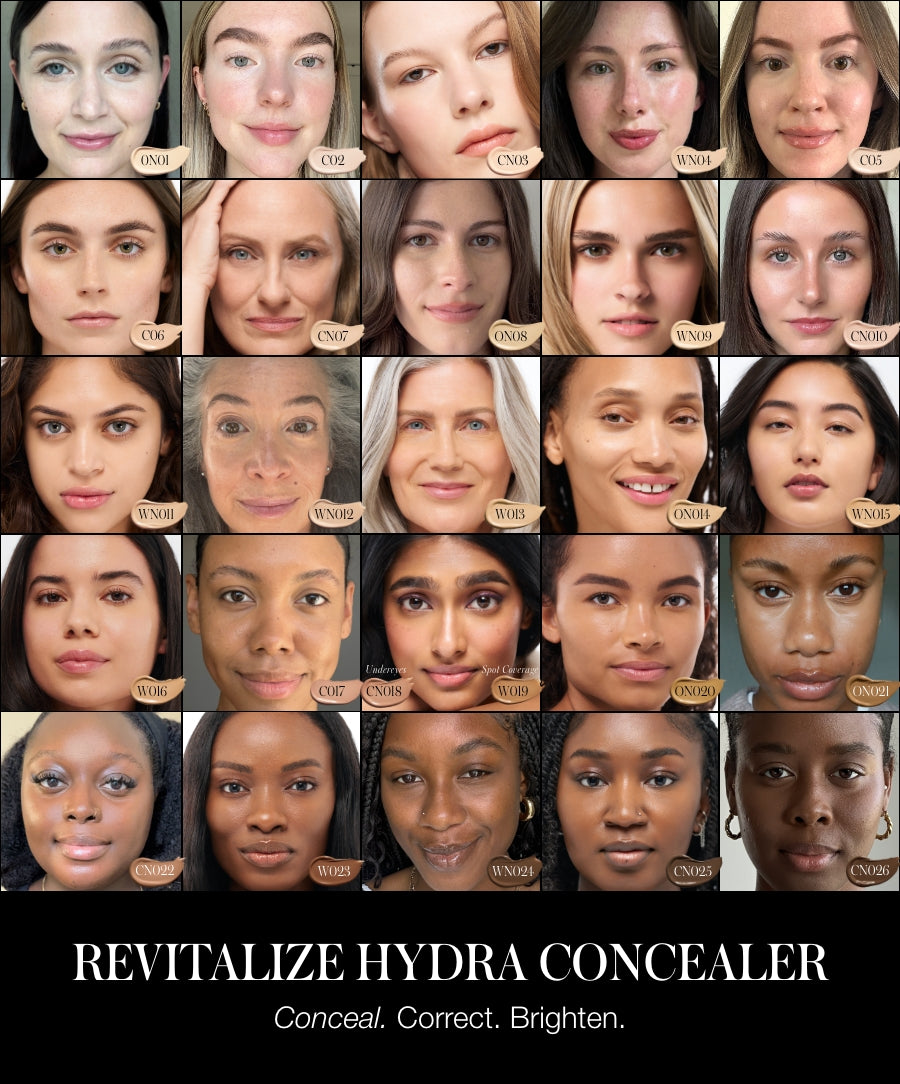
Revitalize Hydra Concealer


ReDimension Hydra Powder Blush
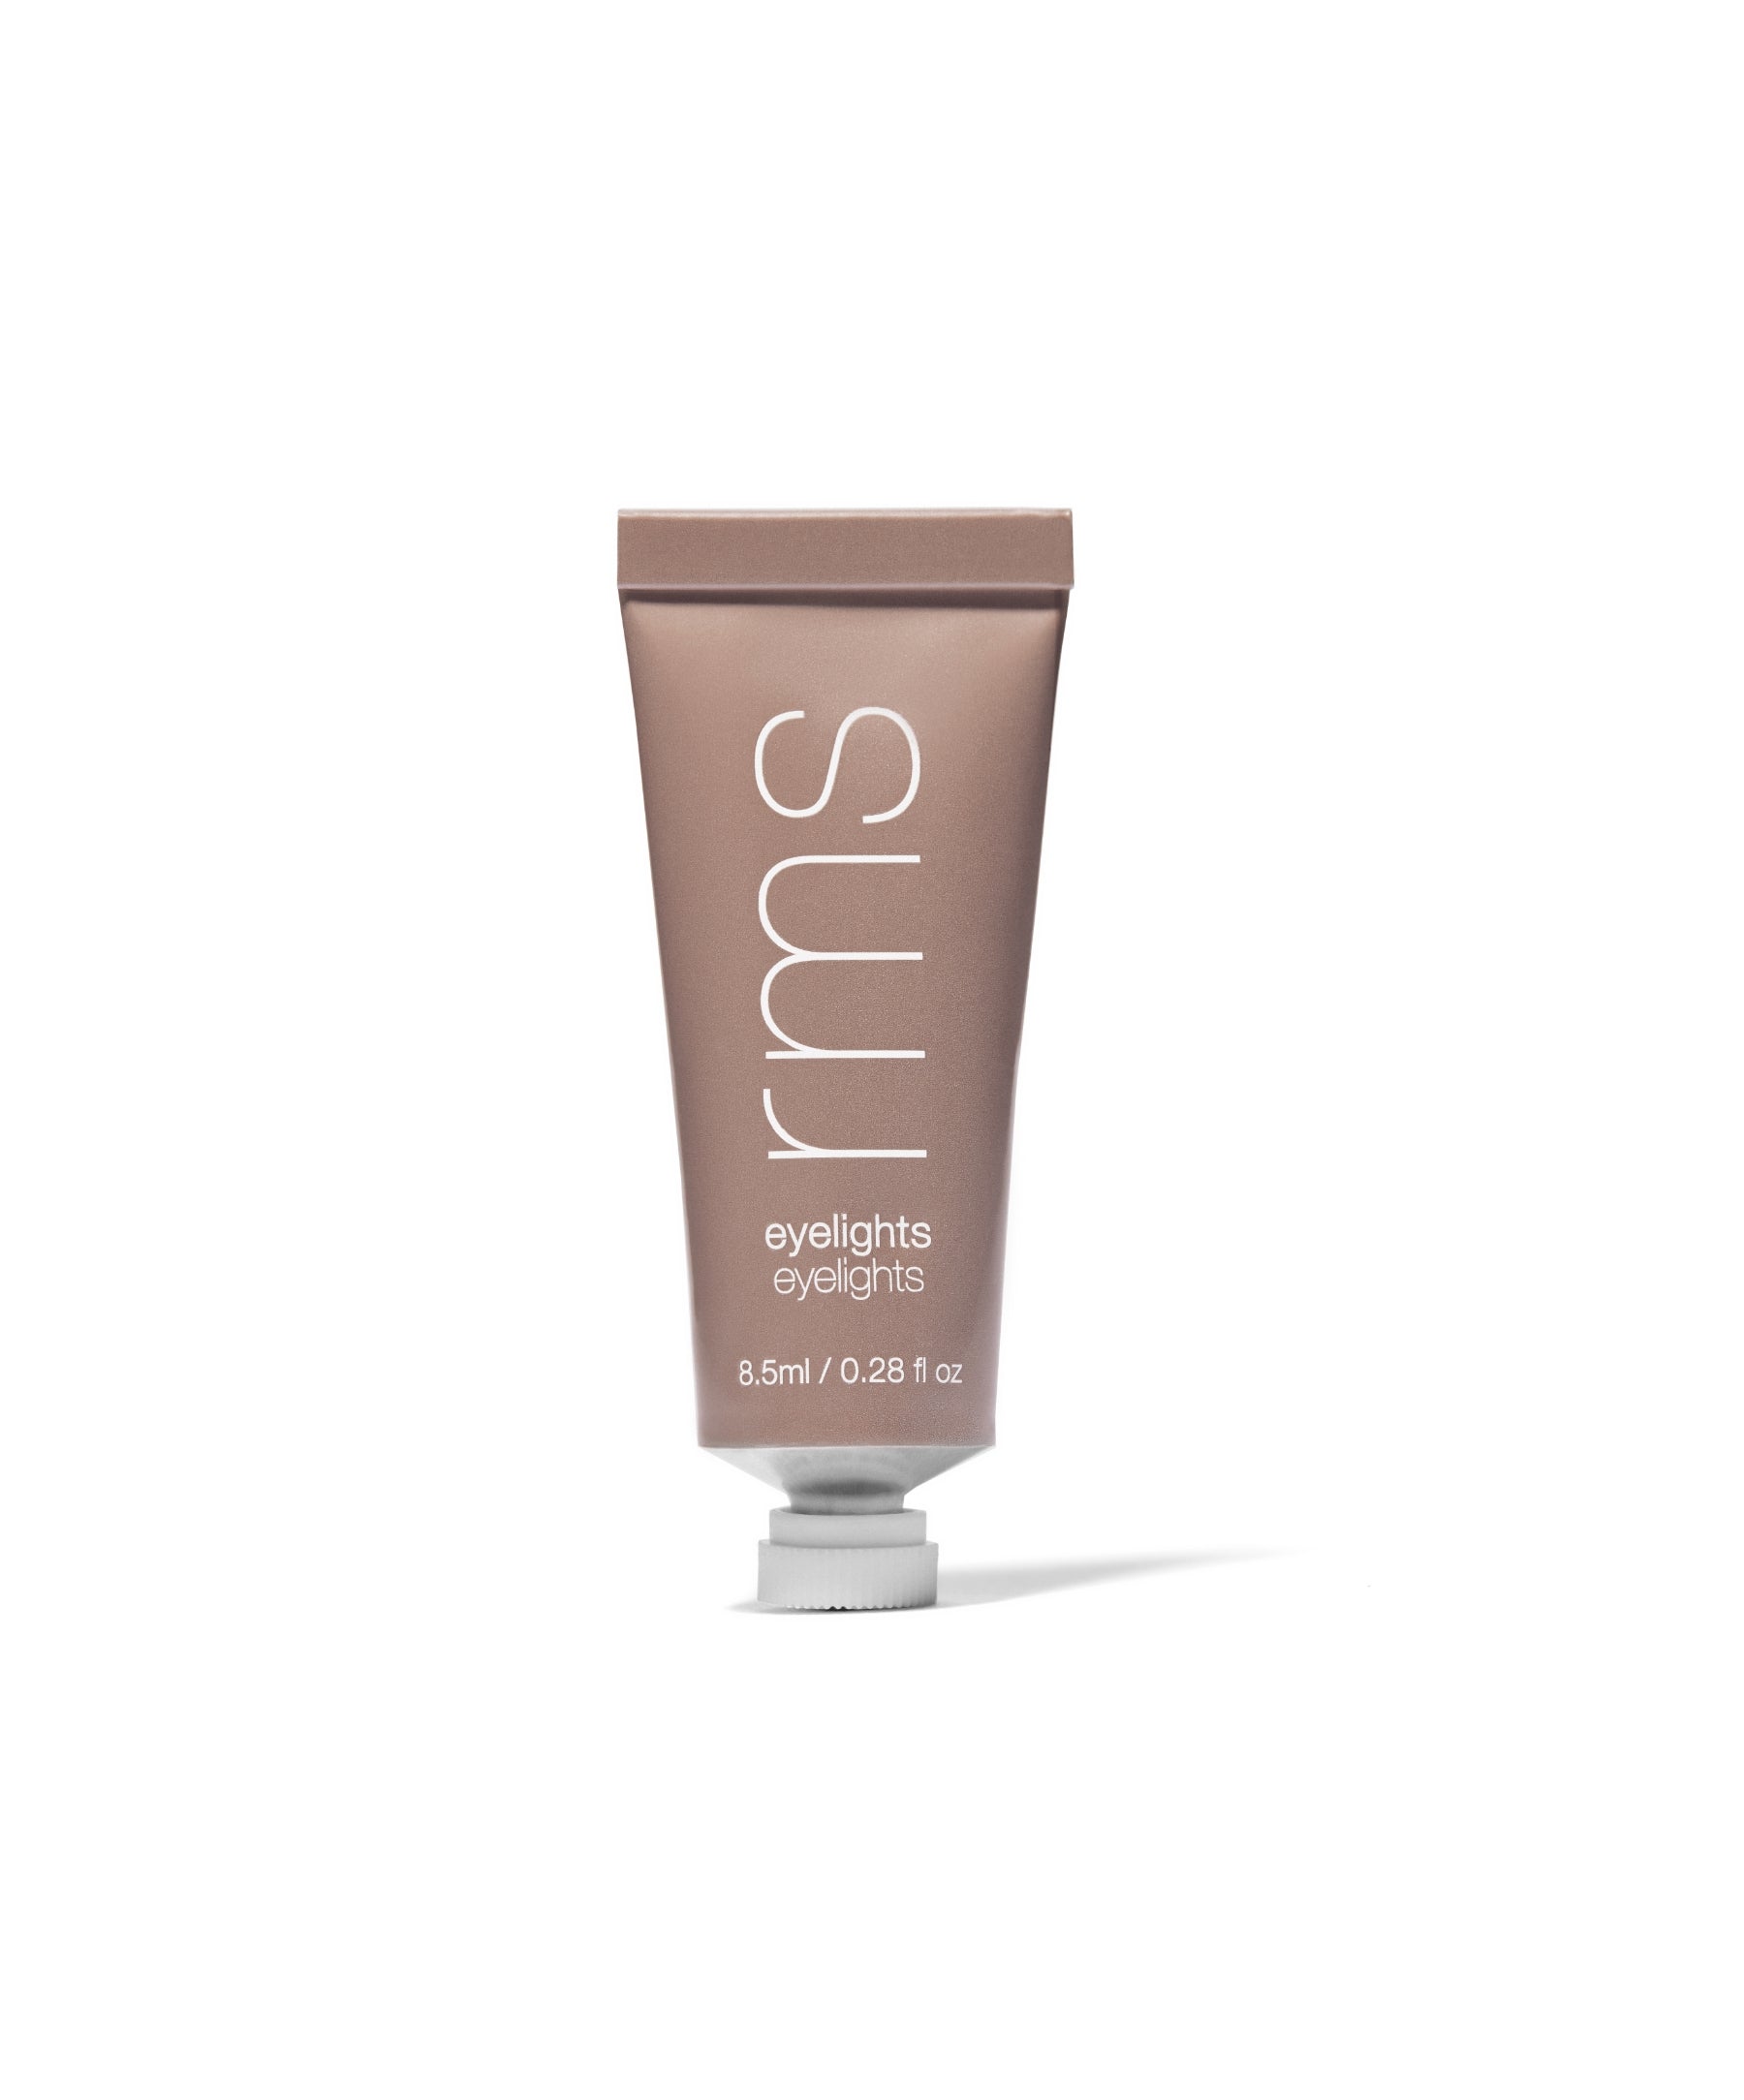
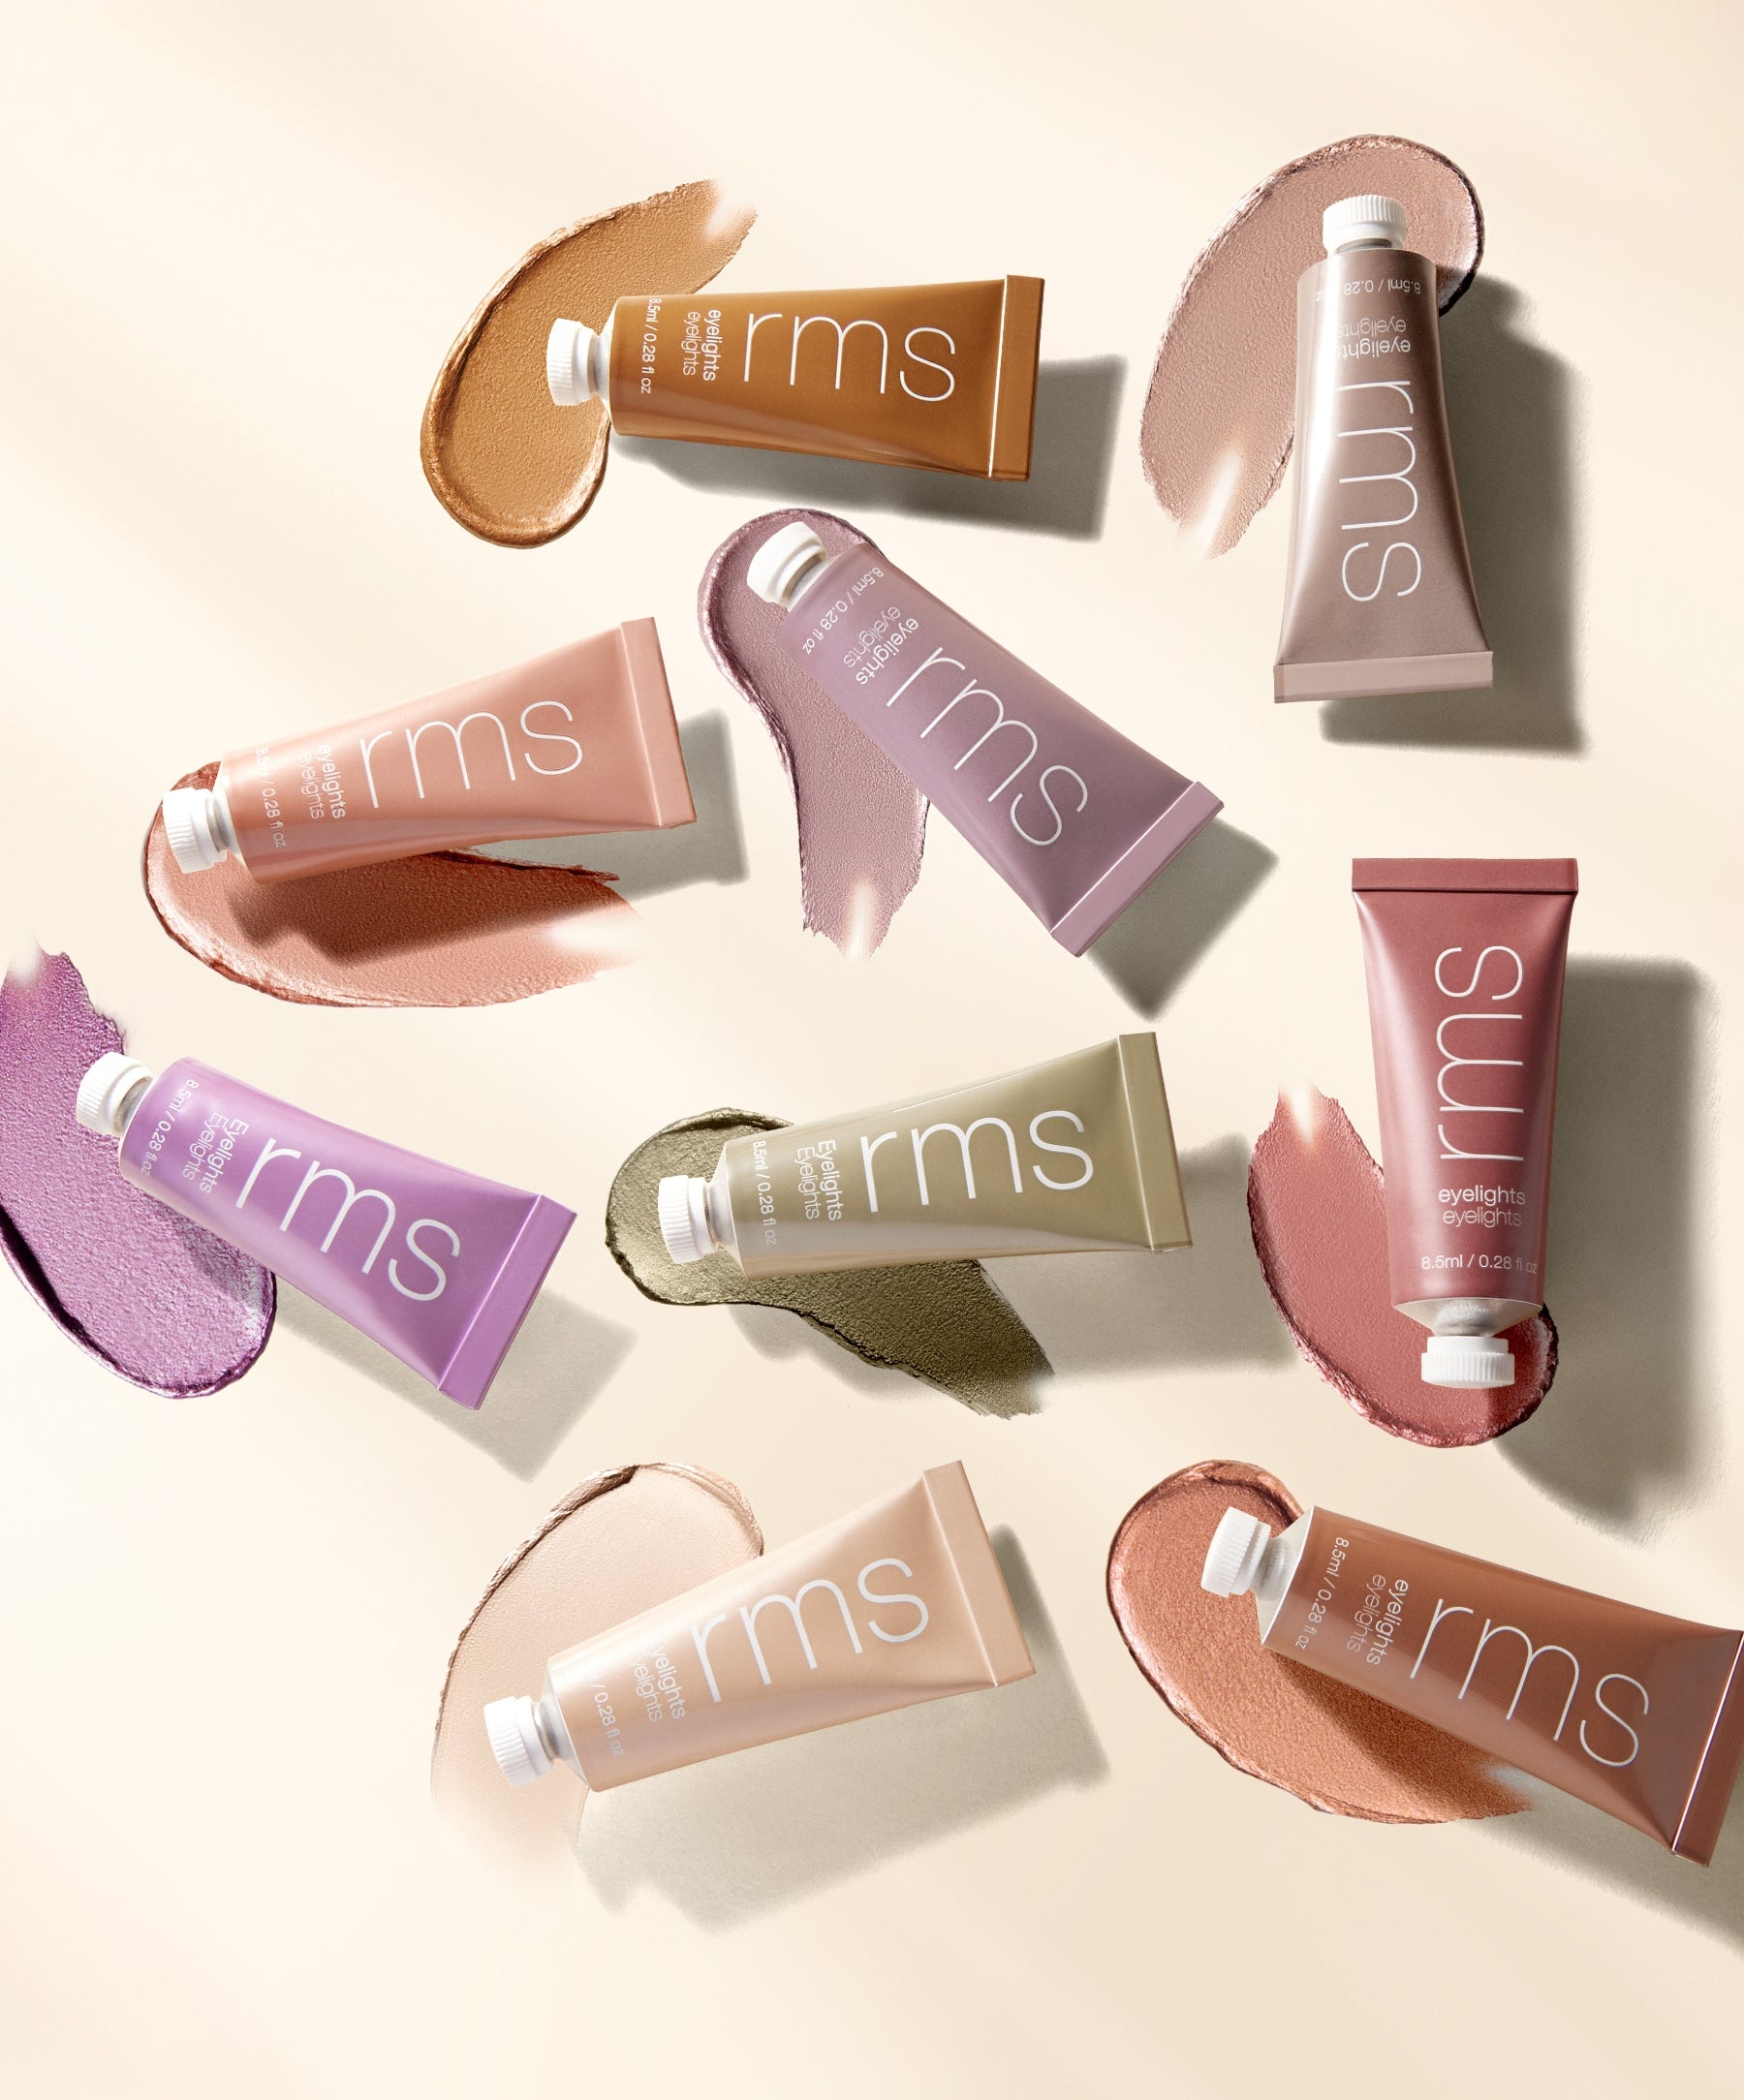
Eyelights Cream Eyeshadow
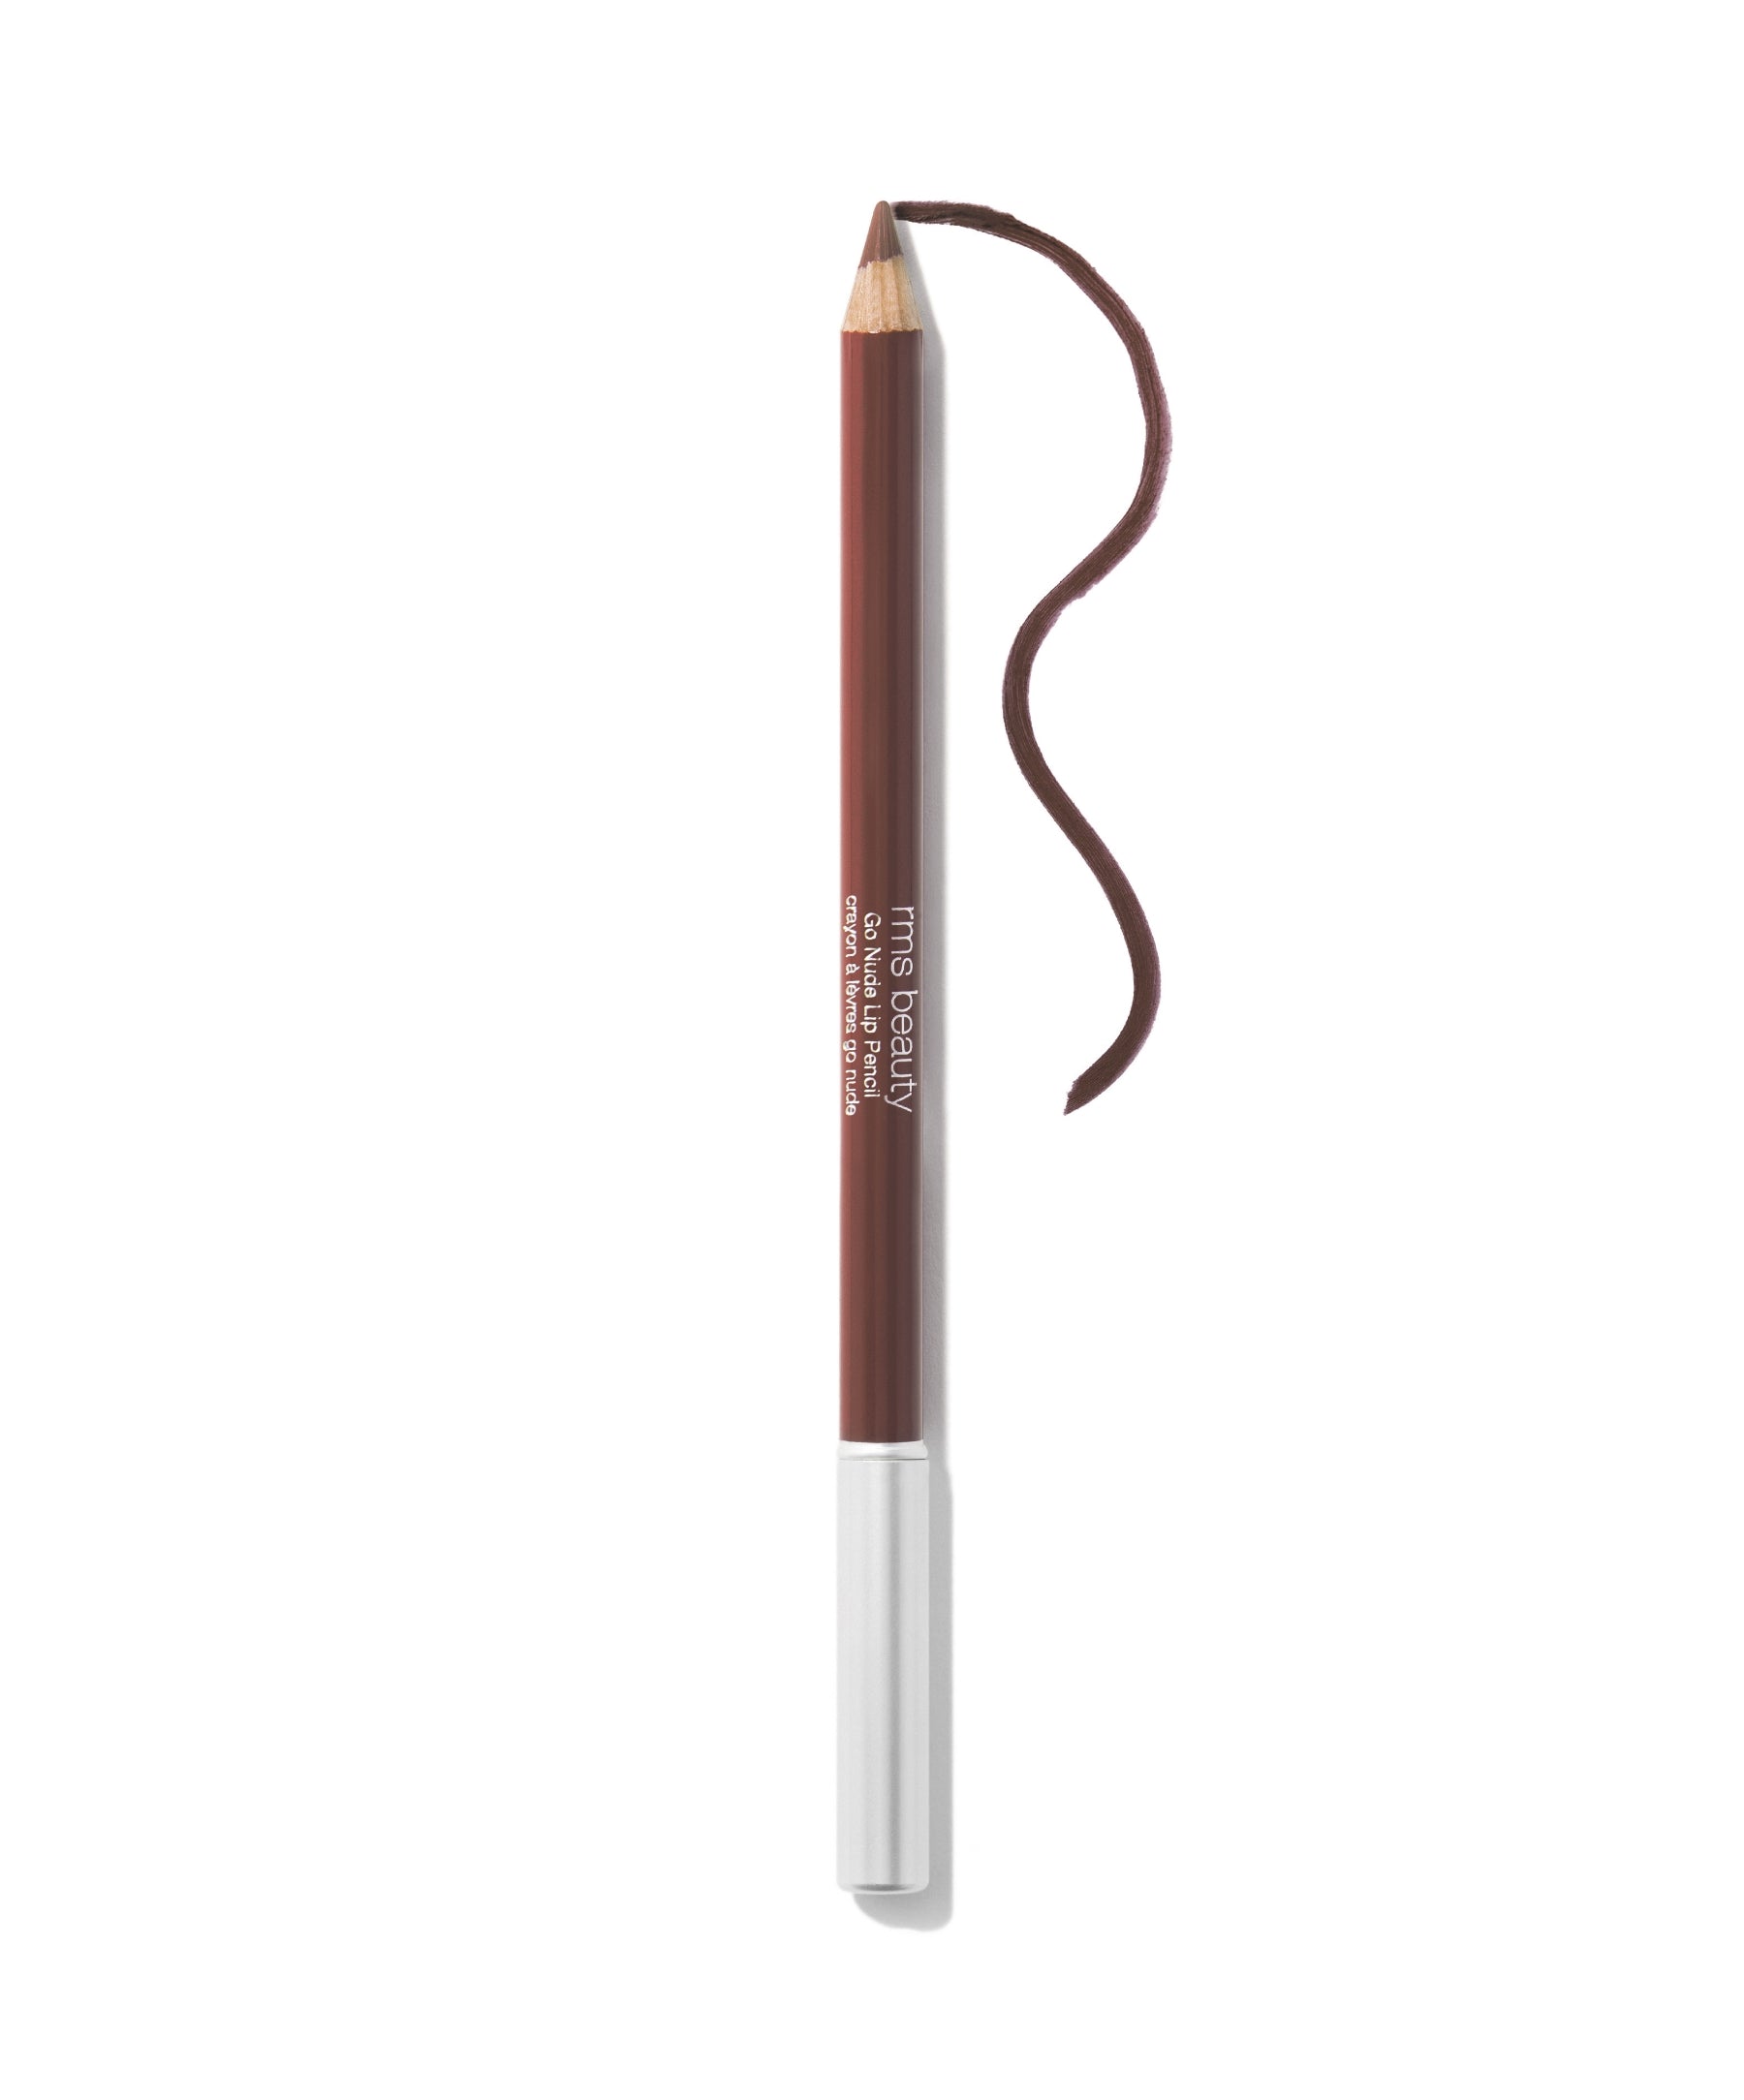
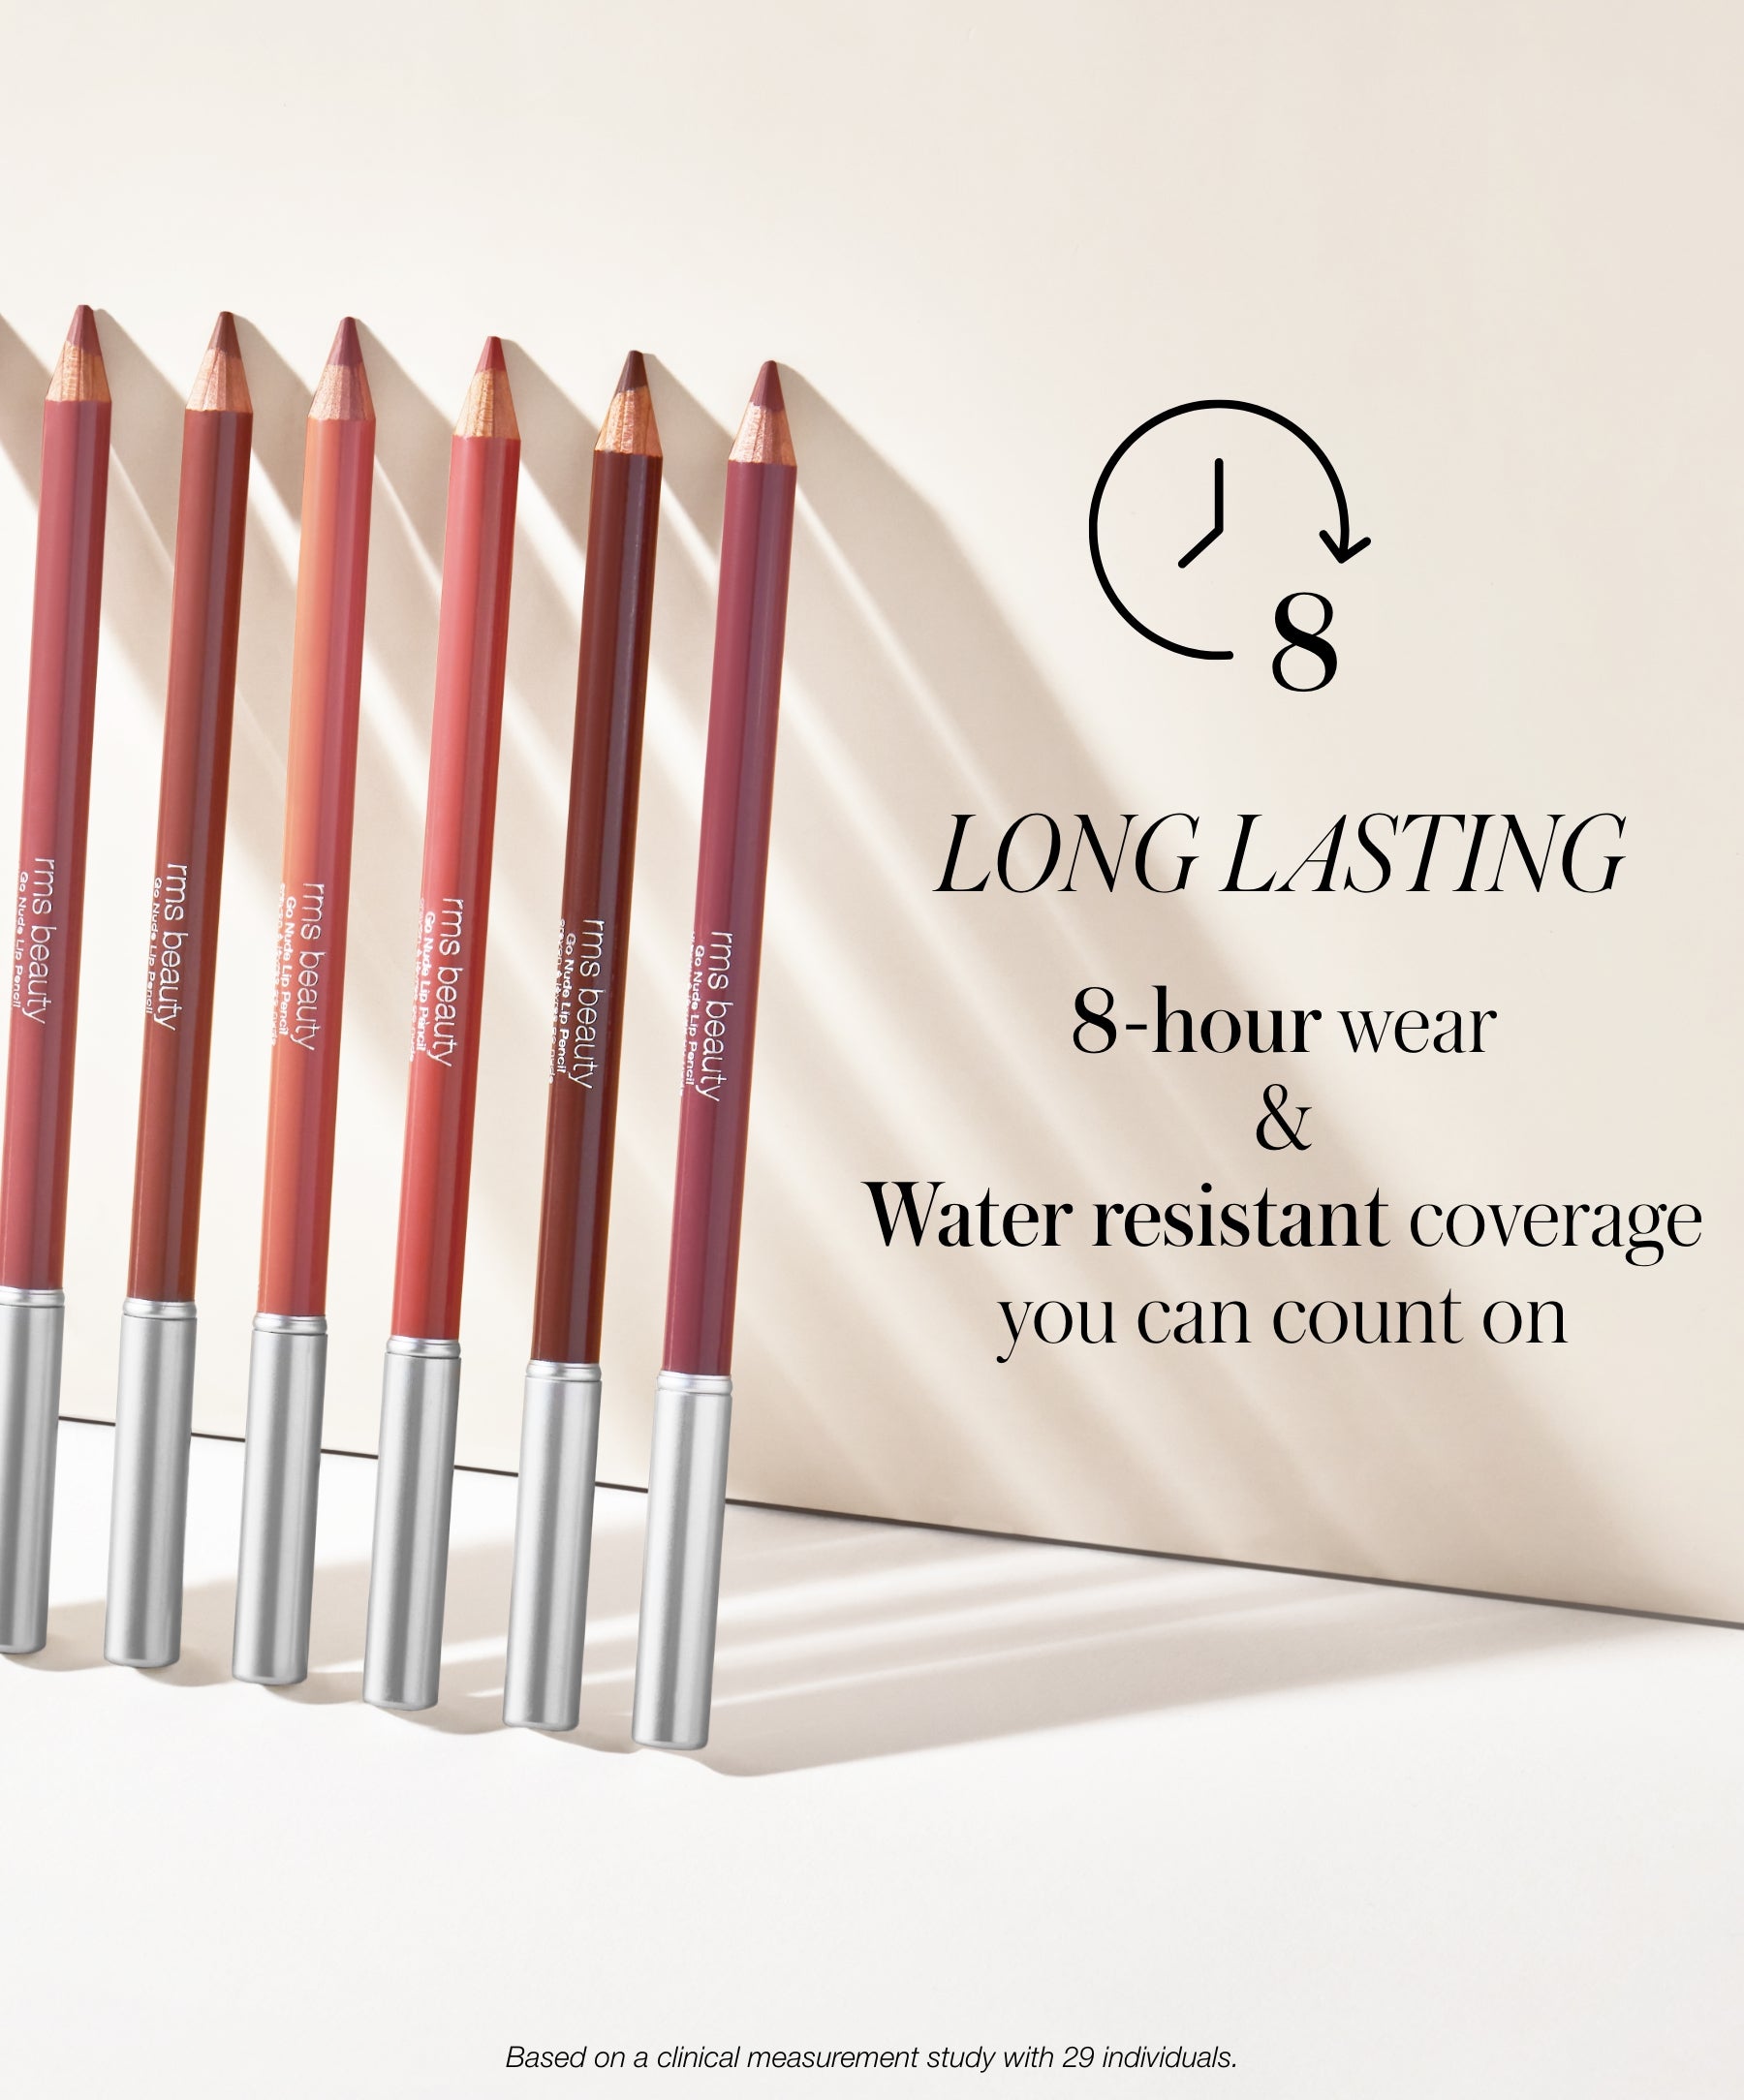
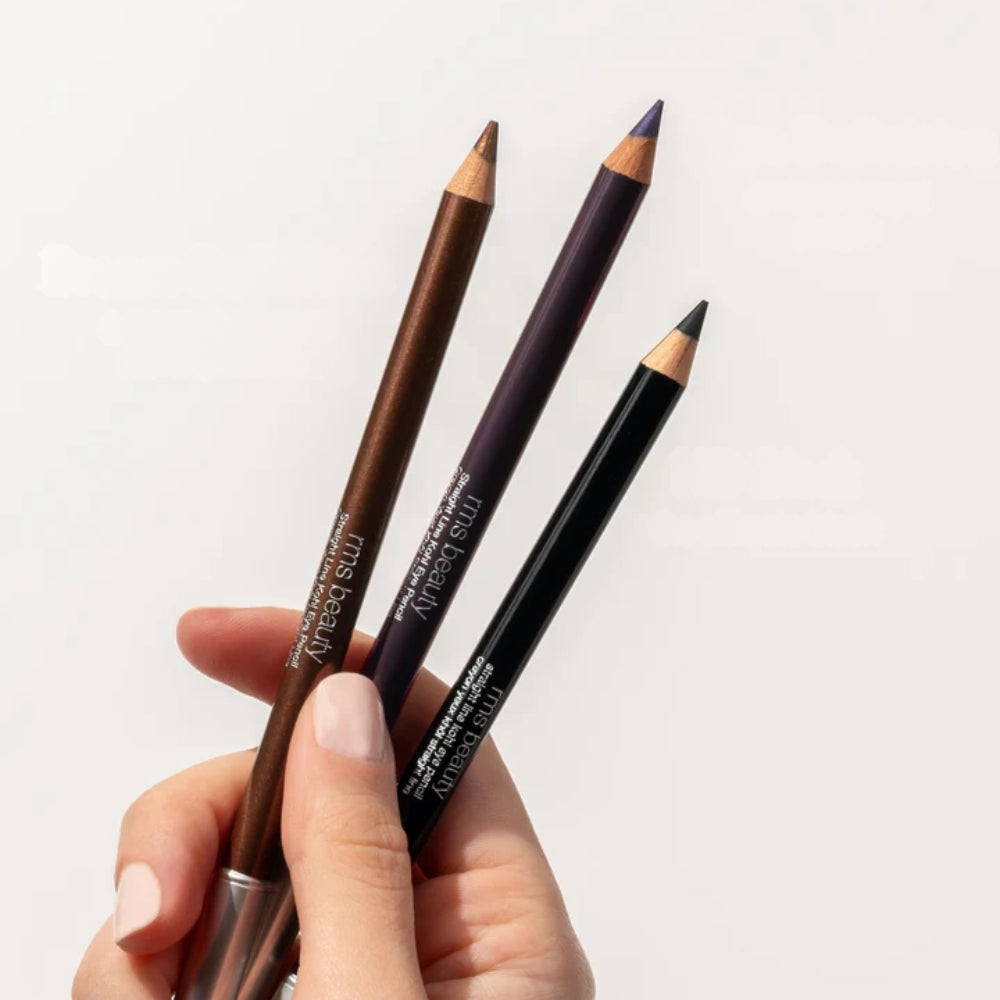
Go Nude Lip Pencil